

Oh, this cake.


This dreamy cake is extra fun because from the outside it looks like a standard chocolate cake, but then you cut into it and BOOM! Hello, marble cake.


Then you take a bite and BOOM! It's chocolate orange flavour.

And yet another BOOM! There are chocolate orange chunks too. Amazing.

Really, it's just a slice of chocolatey, orangey, crumbly joy.
You heard: JOY!
The actual cake is delightfully moist in itself, but then the ganache and chocolate chunks make every mouthful beautifully moreish.

Did I mention it's also super simple to make? You wouldn't think so by looking at it, would you? (Granted, there is a lot going on.) But it really is easy.


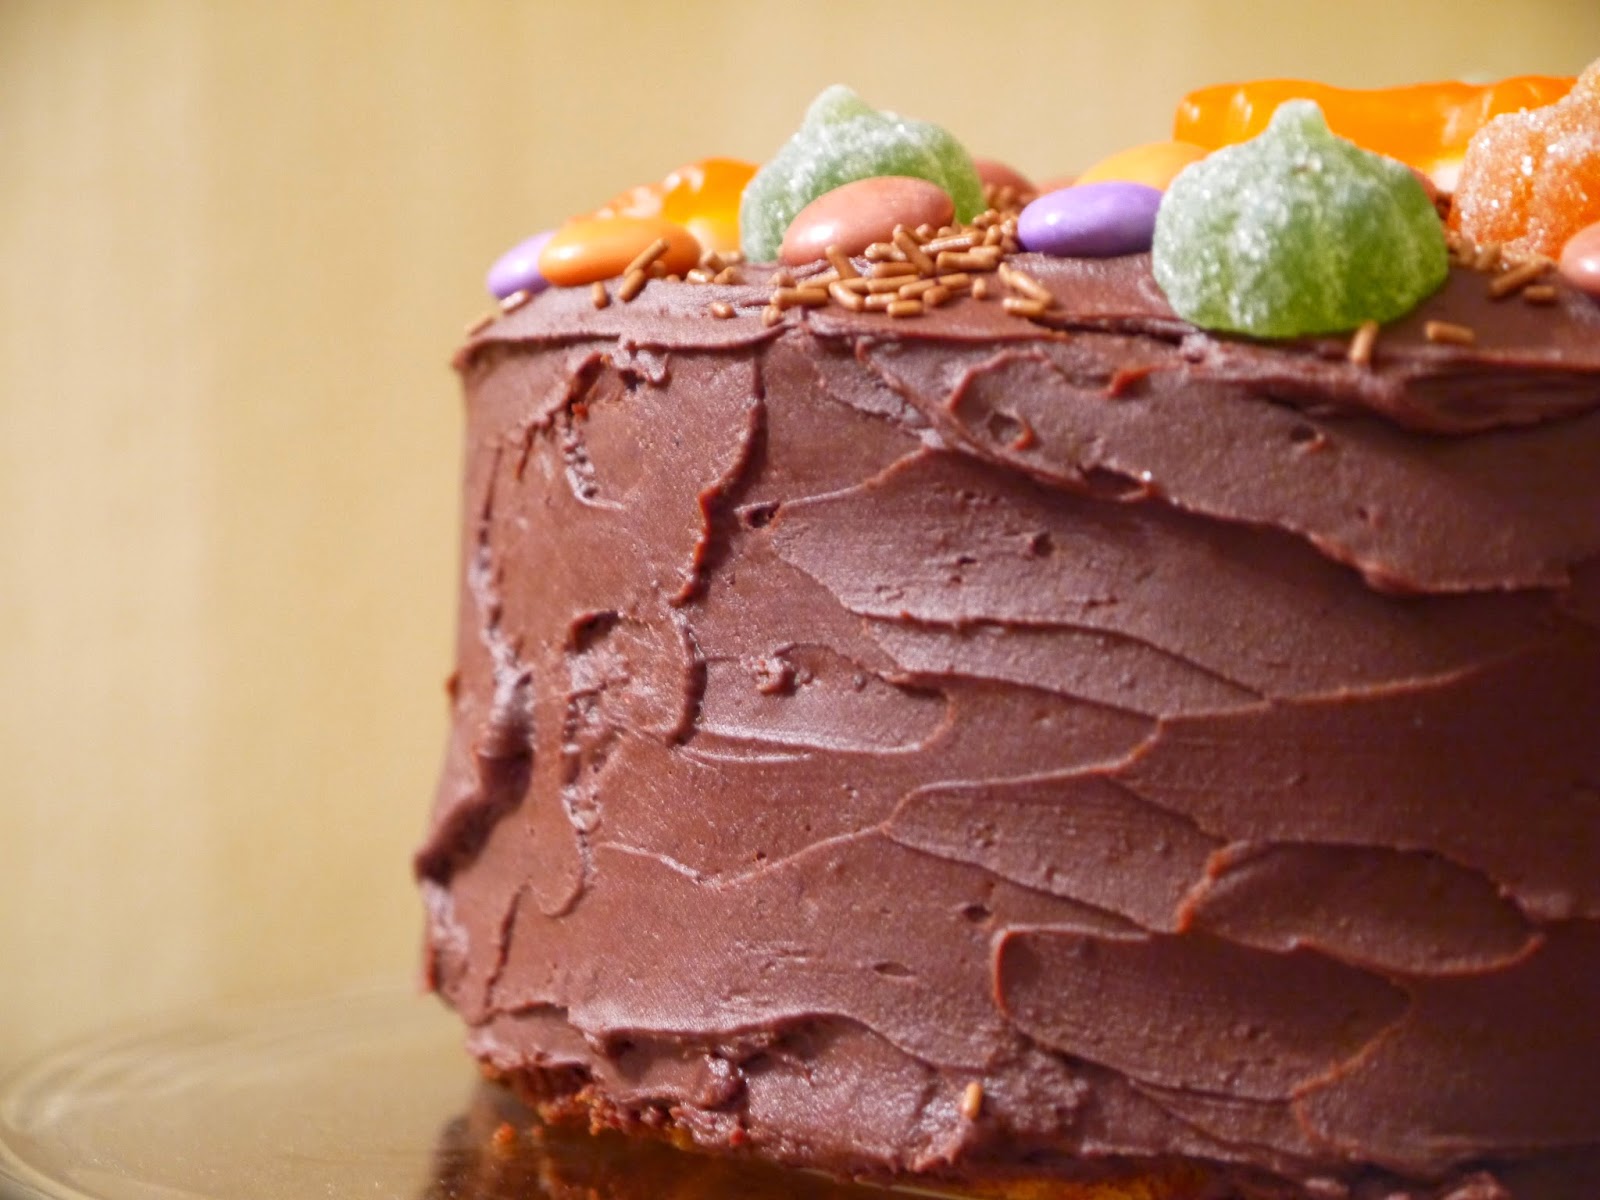
Seeing as it was for Halloween, and at Halloween you're basically meant to go crazy on the sweeties (right?), we decided our decoration would be sweetielicious. And I like it.


Be sure to take out your eggs and butter well in advance. I hope you love this cake as much as we all do (and I'm fairly certain it's impossible not to...)
Ingredients - Cake:
200g caster sugar
200g softened butter
200g self-raising flour
4 eggs, at room temp
1 tsp baking powder
1 tsp vanilla extract
Zest of 1 orange
1 Terry's Chocolate Orange, chopped into little chunks (with a couple of segments spared for baking snacks, naturally)
50g cocoa powder


Ganache:
250g dark chocolate
300ml double cream
Sweeties of choice to decorate
 |
| Snazzy Green and Black's if your mum's offering! |
Method
1. Grease and line two 20cm round sandwich tins and preheat the oven to 180C.
2. In a large bowl, mix the butter, sugar, flour, eggs, baking powder, vanilla and orange zest together with a handheld electric whisk until well-combined. Fold in the chocolate chunks.
3. In large spoonfuls, dollop roughly half the mixture into the two tins, splitting it equally. Mix the cocoa powder into the remaining mixture then dollop that equally into the gaps in the tins.

4. Carefully swirl the mixtures together in the tins until marbled but not mixed.

Bake in the oven for 25-30 minutes, or until the cakes are shrinking away from the sides, springy to the touch and a skewer inserted into the middle comes out clean.
5. Leave the cakes in their tins for a few minutes then carefully go round the sides with a knife. After 10-15 minutes, remove the cakes from the tins, peel off the baking paper and leave the cakes to cool fully on a wire rack.

6. To make the ganache, gently melt the cream and chocolate together over a low heat until smooth.


Remove from the heat and leave to thicken as it cools. (You can speed up this process by popping it in the fridge.)

7. Once the cakes are cool and the ganache is suitably thickened, it's time to assemble your cake. Dollop a couple of tablespoons of ganache over the top of one cake and spread evenly until all covered.

Sandwich the next later on top and spread with a thin layer of ganache.

Carefully cover the sides and then spread the remaining ganache on top for a smooth finish (a palate knife helps.)

Decorate with lots of sweeties and enjoy!


No comments
Post a Comment